The top (or Hood for us Brits) is one example  where the Longbridge cars differ significantly from the later Abingdon roadsters. (Note. cars made at Abingdon until March 1958 also had the `Longbridge` features).

In fact the Abingdon roadtsers themselves also came with two different type of top arrangements making three types in all for the roadsters

1,  BN4`s up to car C.E 68959 had a top frame permanantly attached to the body (more later)
2.  Late BN4`s and early BT7`s up to Car # 1529 had a removable frame but similar in design to the early ones
3. Later 3000s and Mk II Tri- carbs had a sturdier removable frame of a different design
  
Then collapse the hood sticks together.

Restorers should note that the everflex top is attached to the frame by two tapes which are sewn to the top itself.

The tapes are fastened to the back two bows but not to the front one.


home                                                                                                          next            
Then fold the hood side flaps into the centre of the well leaving the hood sticks clear of any material at each side.
  
 
Abingdon style Top
 Longbridge Top
_______________________________________________________

Rear seat squab hinged forward to show  slide `1` and securing clip `2`

 
On the left is the later 3000 bow which is thicker 20mm guage. The frame slots into the tonneau cover bar holes.

On the right is the late BN4 early 3000 frame made of 16 mm guage. The leg has a bend in it and smaller pegs on the end which fit into their own holes not the holes for the tonneau bar.

The frame on the right is the same shape as the Longbridge one that was permanently attached to the body 
This is the key trick.

Pass the front rail rearwards and underneath the hood sticks (bows)

The top itself is now upside down with the interior pointing upwards
 
  
Longbridge style Top
  
Photos courtesy of
Peter Svilans
  
Then fold the rear end of the hood under the rear window.

This is also where it is a bit tricky as you should avoid unecessary bending of the rear window pane.
After first unfastening the tenex studs on the shroud release the toggle clamps on the windscreen top rail
Erecting the Top

Erecting the top is relatively straight forward although do not think that  because it is permantly attached to the body it is similar to a BJ7 or BJ8. In fact its probably more fiddly to erect than an Abingdon car. If you think its going to rain and don`t like getting wet then put the top up before you leave home!

The recommended method is

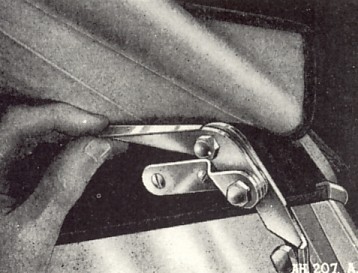
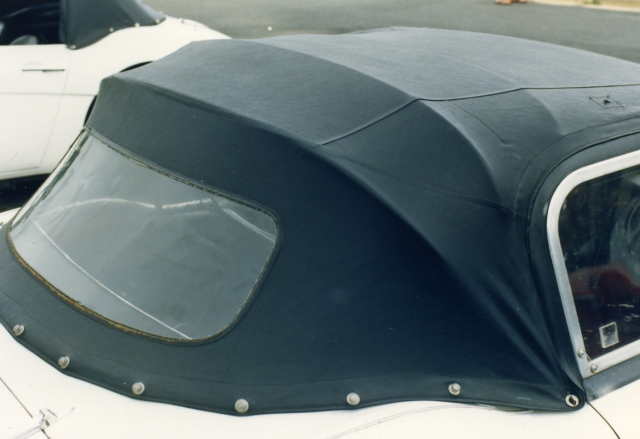
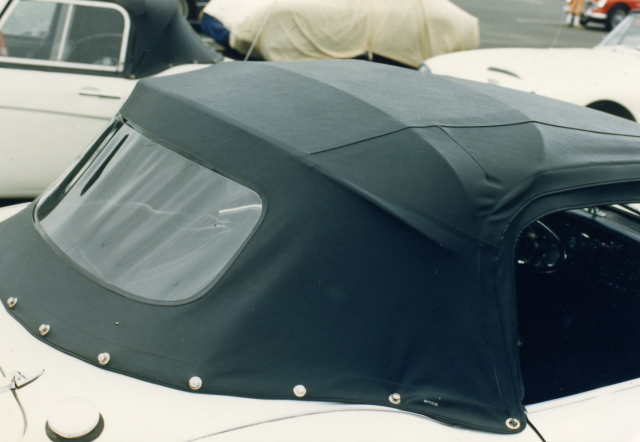
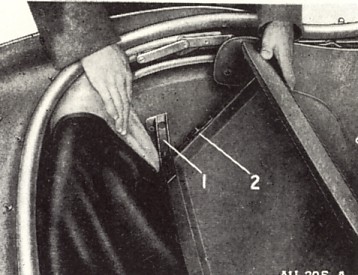
-  first attach the top to the windscreen with the two clamps making sure it is properly hooked under the lip.

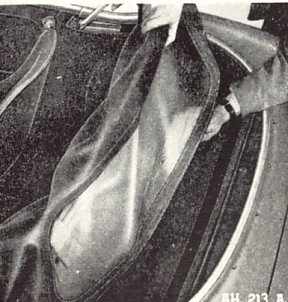
- Then fasten several or all of the rear Tenex press studs to the rear shroud. If the top is a tight fit, as it should be, the studs are easier to fasten before the frame is erected.

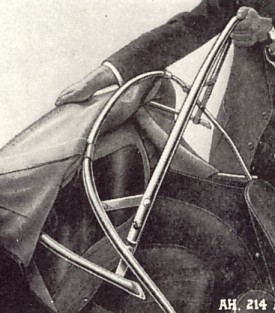
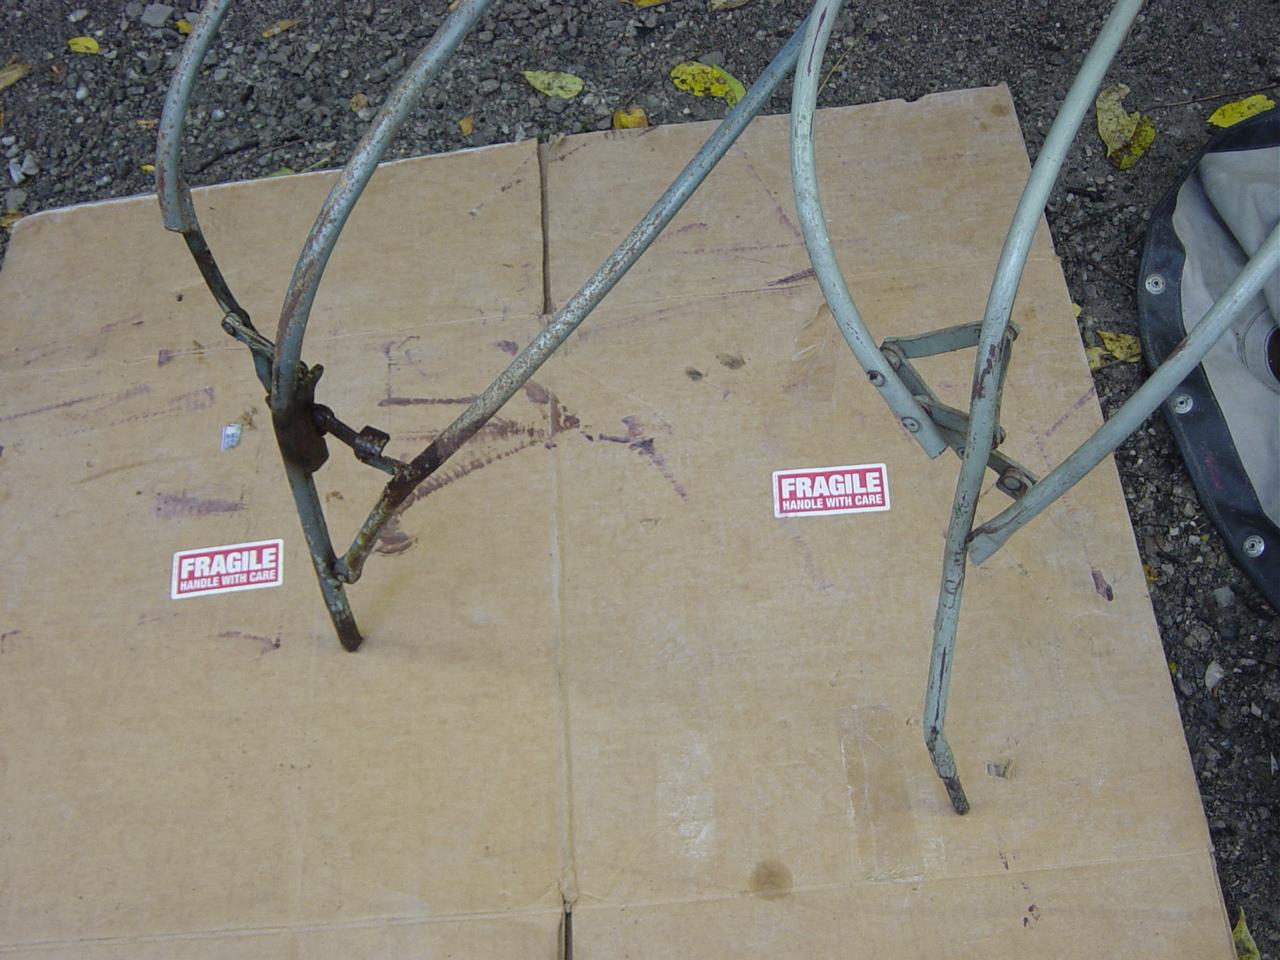
-  Erect the frame ensuring that the spreaders are fully extended. This is a bit like opening an umbrella but can be quite tricky if they are stiff. It definitely helps to have two people, one on each side to ensure the spreaders open properly.

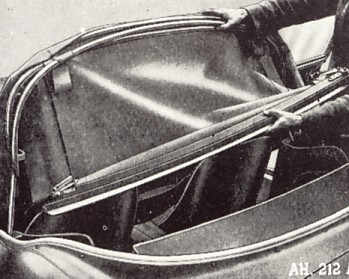
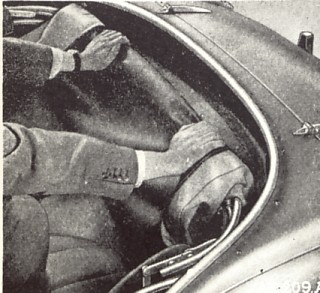
- The frame should be fully forward in the slides and then tilts backwards slightly. The hooks are pushed into the securing rubber  blocks.

  
100-Six


Then push back the hood assembly so that its sits right back in the well. 
Stowing the Top

This should be a simple matter of reversing the above process, however there are a few worthwhile rules to follow if you want the hood to fit properly behind the rear seats.

The following photos are from an original 100-Six Owners Handbook
I may be biased on this but I believe that the Longbridge top gives a nicer outline. I`d also say that. although with the top down the BN6 is a better looking car than the BN4 -  with the top up the BN4 has the better proportioned profile.

The Longbridge Top

The Longbridge top frame is permanatly attached to the body of the car. At its base it sits in sliders which allow it to be pushed back when stowing behind the seats.
This illustration shows the base of the top frame bolted to a device that allows it to slide forward and backwards along the rail . (All parts should be painted light grey )

The hooks on the end of the frame are used to secure the frame in position when it is fully erected by pushing them into the rubber blocks as shown
  
A perfectly folded hood pushed back into its storage position.

I guarantee yours will not look like this!!